Saturday, May 30, 2015

52-Weeks of Book Binding, Journals and more...


Week 22

Sketch/Journal
This week I made a simple little Sketch/Journal.  One side is for "Sketching or Drawing" and the other side is for Journaling. 

Supplies:
Papers for the outside and inside covers, chipboard or cardboard, glassine bags, extra large index cards.

The size of your covers will be determined by the size of your bags.  Cut your boards just slightly larger than your bags.  Cut your paper for your covers, about 1" larger all the way around than your boards and glue them to your covers.

Inside of Cover/Outside of Cover
To cover the inside of your covers, cut your paper slightly smaller and glue to the inside covers.  Now gather your covers and bags and bind.  Add your index cards.

Here is the book together with the Sketch side up.

Here is the book with the Journal side up.

I found this pen at Barnes and Noble, but it's also available on Amazon.  It's flat and sticks to your book perfectly.  Can be used for your journaling and/or sketching.

Friday, May 22, 2015

52-Weeks of Book Binding, Journals and more...

Week 21

A Needle "Book" is the post for this week.
Instead of paper pages in this book, we have fabric pages

Supplies: 1 felt square for cover and pockets, three different color felt scraps, fabric for inside pages, scrap batting, Perl cotton floss, ribbon, needles and needle threader.  Optional: alcohol swabs and bandaids.

Take the felt square for your cover and pockets and cut it in half (one half is for your book).  Take the other half and cut in half again (these are your pockets).

Cut three different colors of felt; one small, one medium and one large and batting to match your circles.  These will become your pincushion.

Take the felt half that is your book and fold in half.  Find the upper center of the book and pin the largest circle with the batting onto your front cover.   Stitch your circle down with the Perl cotton floss using a blanket stitch.  Repeat for the other two circles.

Take the other two pieces of felt and pin one to the front cover and the other one to the back cover.  Sew around three sides for each felt piece.  These are now the pockets for your book.  If you want to add ribbon add it before sewing your pockets.  Measure your book and cut your fabric the same size.  This will become your pages  Sew down the center of the fabric.


 Add your pins to the front page and your needle threader inside the front pocket.

In case of an emergency, add the alcohol swabs and bandaids inside the back pocket.
Now your ready to start sewing.

Sunday, May 17, 2015

Mono-Prnting

About a month ago, I made some handmade carved stamps using Styrofoam and Fun Foam.  I was playing with the design, just having fun and seeing what I could create with these two different forms of stamp carving.

With the first one, I carved on Fun Foam:

I kept a center design, as you can see, in the upper left corner, so when I stamped the image, I would have a point to work from.

Here is how the stamp looks when printed:

I did not get the imaged quite evenly, but you can see how the line down the middle of the stamp, created a square.  I used Speedball, metallic white, block printing ink on black cardstock.  I might go in with a white metallic pen to fill in more details, or I may leave it the way it is.  Have not decided yet.  

The second carving, I did on Styrofoam:

I stained the Styrofoam with black ink, otherwise you would not be able to see the image.

Here is what this carving looks like when printed:
I used Speedball black block printing ink for this image.  To me, this looks like vines growing out from a brick wall.  I really like how the black ink makes this carving pop.

As you can see, you don't need a printing machine and printing blocks to do mono-printing.  Styro and Fun Foams work just as well.

Friday, May 15, 2015

52-Weeks of Book Binding, Journals and more...

WEEK 20
Traditional Book Binding


I took a Traditional Book Binding class at Piecemaker's, in Costa Mesa, CA with Mimi Halo.  We had different sizes of books to choose from, so for my book, I chose the Journal size.

In taking this class, I learned how to bind a book from start to finish; from sewing the signatures, to creating the book cover for my pages.  I also learned that you can add other elements, and embellishments when creating your cover.  You do NOT have to just cover it with just paper.  You can add other papers into the cover, and anything else that inspires you.  With mind, I added two additional papers as you can see on the left side.

We chose a picture, a title and subtitle for our book.  The title of my book is "Desert Streams: They Grow in the Rain".  Mimi, printed these out for us for one of our signatures. 

Although, this is handmade, it is still a real book!!

Back Cover
A view of the spine.

If you have a love for books as I do, and live in the area, I suggest you take a Book Binding Class with Mimi Halo at Piecemaker's.  You'll learn so much more along with Book Binding.

Friday, May 8, 2015

52-Weeks of Book Binding, Journals and more...

Week 19
"MOTHER'S DAY PHOTO ALBUM"

Mother's Day is just around the corner.  Sunday May 10th to be exact.  I wanted to create something special for Mother's Day.  I thought, what better way, than with a beautiful photo album to keep all her treasured memories. Although, most people are into taking digital pictures, we can still print out our favorites photos to display.

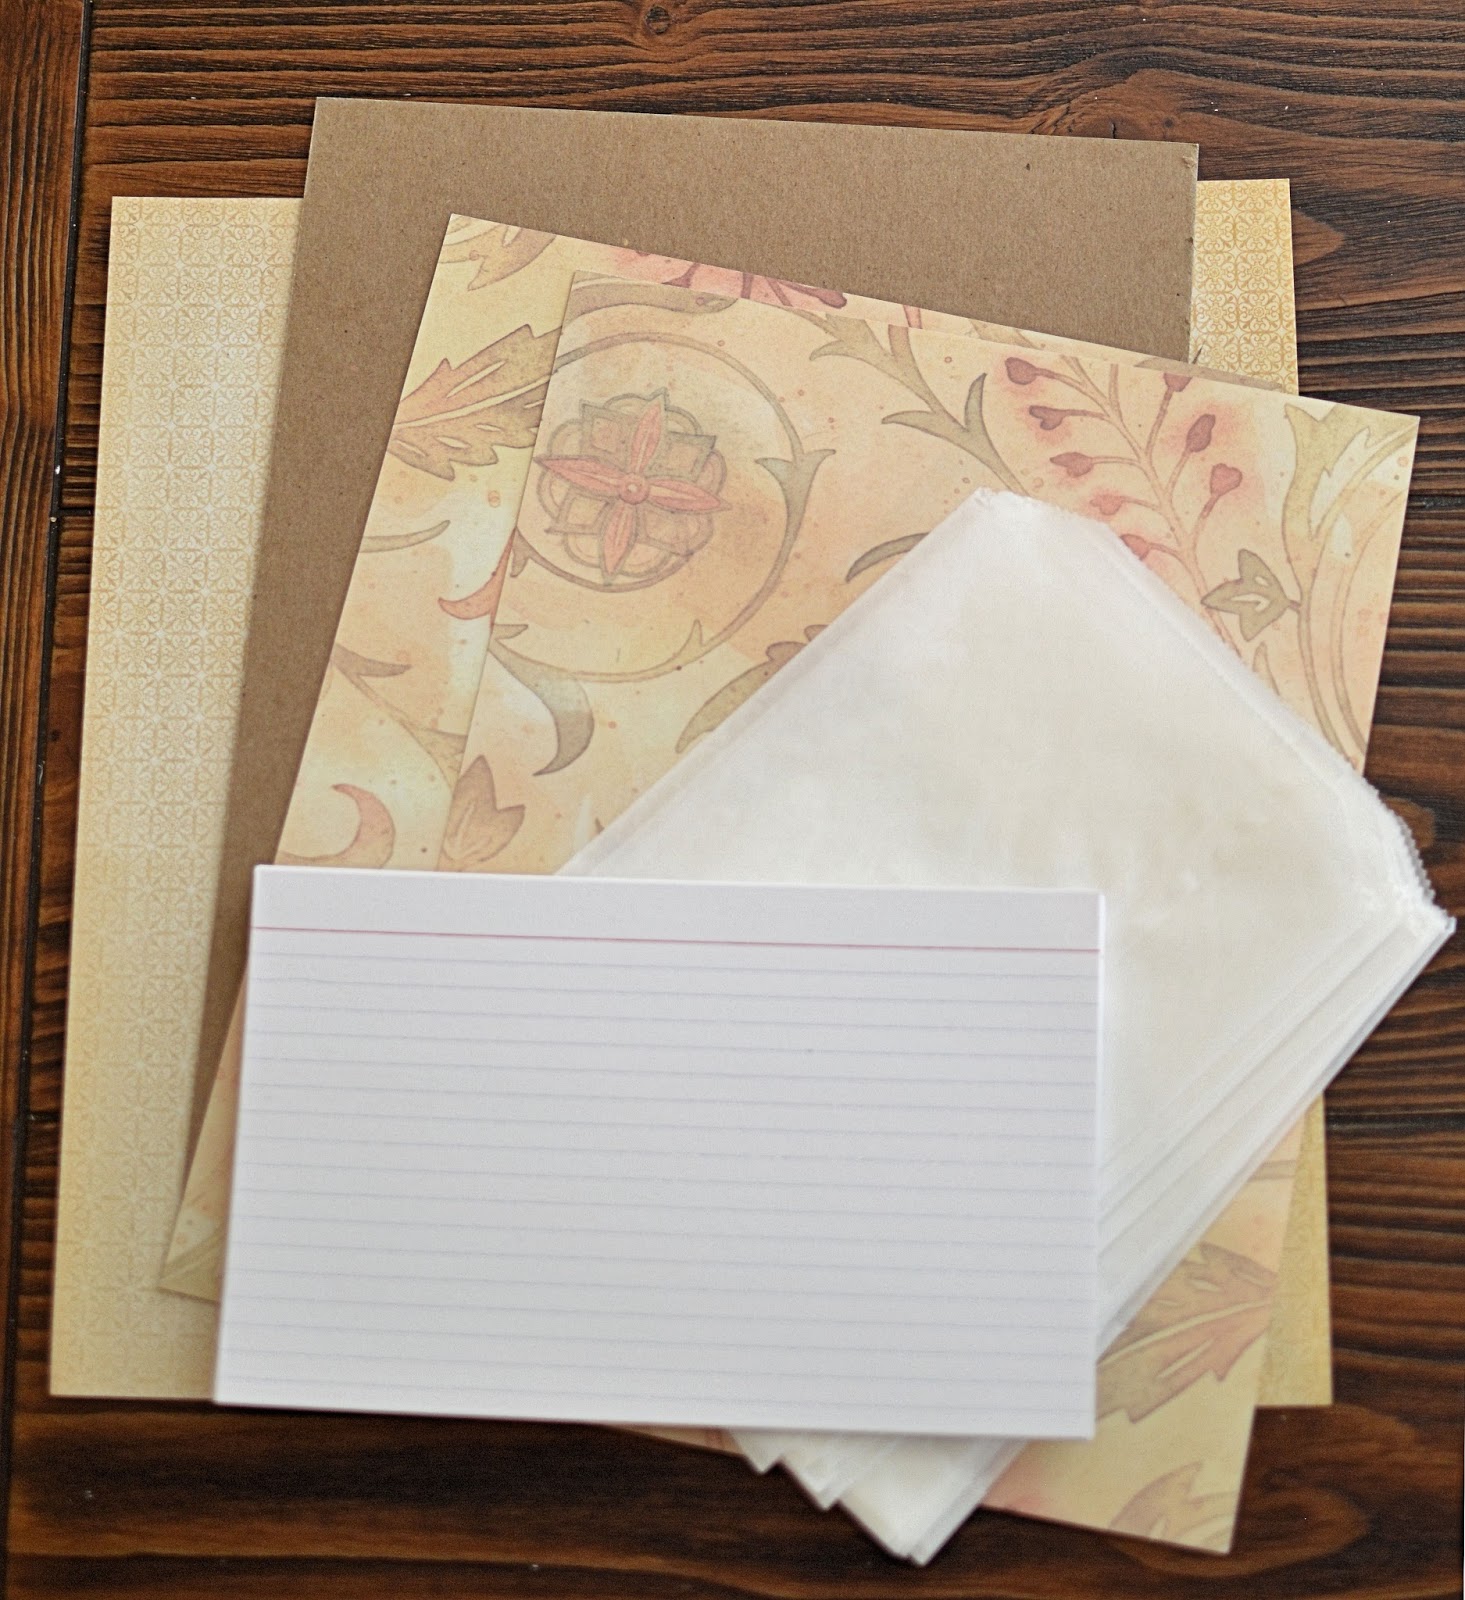
Supplies: two pieces of chipboard, paper for outside covers, black cardstock, 1 sheet of suede paper, ribbon, grommets.
Additional supplies: inside cover papers, paper cutter or scissors, awl, glue,
Crop-A-Dial.


Cut your chip board to the size you want your album to be.  Cut off 1" (this will be your spine). Do this for both the front and back cover.  For both spines, punch 1-1/2" holes from the top and bottom, centering the holes in the spine.   Mark a "T" for the top.  Set aside.

If you want an opening for your front cover, draw a square in the center and cut out.  The opening can be as big or as small as you would like.  Set aside.

PREPARE YOUR PAGES 
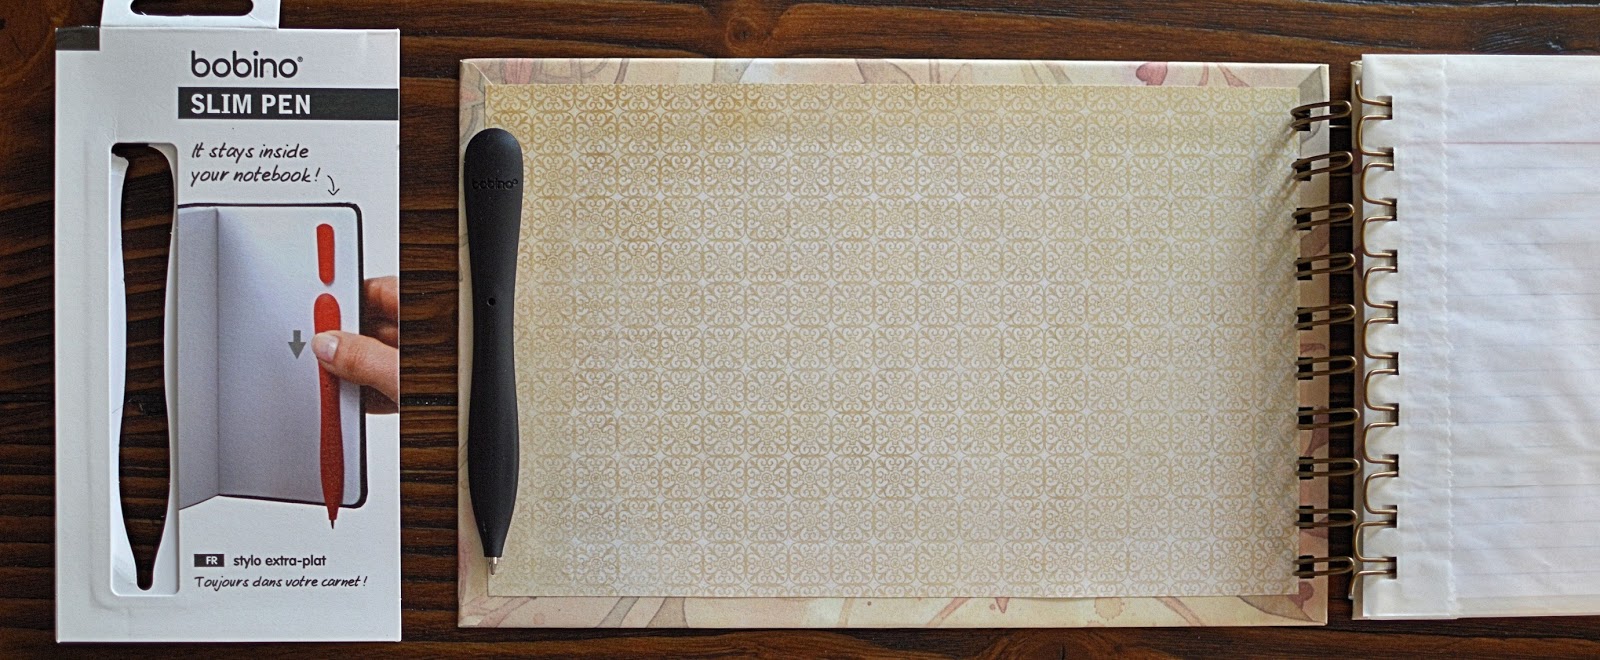
Decide on how many pages you would like in your album.  I chose 15 pages for mine.  Line up the spine with your papers.  Mark and punch out the holes. Mark a "T" for the top.  Cut 2" pieces of cardstock, score down the middle and fold.  These will be your shims that you will insert between the pages.  Using the spines once again, mark and punch holes into these also. Mark a "T" for the top.  
NOTE:  Keeping everything align will help your album fit together better.

PUTTING THE ALBUM TOGETHER
Measure your covers and cut your cover papers about 1" larger all the way around, than your covers. Glue these onto your covers, folding the edges over to the inside, on all four sides.  If you chose a window for your front cover, cut diagonal lines, fold over and glue to the inside of the front cover.

Cut the papers for your binding 4-1/4" wide and 2" longer than the spines.  On the inside, mark 1" along the long side. Place your front cover up to that marking, leaving 1" on both top and bottom of the paper.  Now glue your cover down.  Do the same for the back cover.  Take your spines and glue them next to your covers, leaving a 1/4" gap in between.  Now fold over the other side of the binding cover and glue in place.  Trim the top of the inside of the spine papers, both top and bottom, fold over the flaps and glue them down.

Top is back cover/Bottom is front cover
Choose your paper to cover the inside of the covers, and cut 1/2" smaller than the covers. Center the paper and glue in place.  If you have an opening for your front cover, mark and cut the opening out just slightly larger than the opening of your front cover, center and glue.  Find the holes you made in your spine early and punch through using a awl. 


Using the Crop-A-Dial, put grommets through all four holes in the spine.  Take your ribbon and run it first through the front cover, the first page, a shim, the next page, et cetera, until you have gone through all your pages and shims. Now go down through the back cover, up through the back cover and through all your papers and shims.  Go through your front cover and tie a pretty bow.

Add some photo corners and you have a beautiful gift for Mom.